
In my days as a hardware tech, I often came across motivated do-it-yourselfers who watched a video or two on how to repair a phone and thought that they'd give it a go. More often than not, they failed miserably and damaged their phones (and wallets) even more in the process.
To make sure that doesn't happen to you, I'll be looking back in time to when I was new to repairing smartphones, and I will share some tips and habits that I have developed along the way to help ensure successful repairs.
Opening up and working on multi-hundred dollar electronic devices isn't something I would recommend unless you're somewhat experienced, so do so at your own peril. And always remember to back up your phone before doing any type of work on it.
Tip #1: Preparation Is Key
Make sure you have a nice clean space to work in with minimal distractions. A room that's not carpeted would be very ideal, but not a deal breaker. Just make sure to be careful and minimize static electricity—so don't go rubbing your feet on the carpet before getting ready to open up your phone. I've made it a habit to always touch a steel table leg to discharge any static before starting work on anything.

As for parts and tools, make sure to do your research and find the best possible part you can afford. For example, a good quality display (like this Samsung Galaxy S7 one) will cost you a pretty penny, but is probably better than opting for the cheap, possibly malfunctioning display to save a few bucks.
Basic tools consisting of screwdrivers and plastic spudgers will usually come with the part you purchased, but not always. If they are included, their quality will most likely be cheap, but they'll get the job done. If you think you'll end up opening your phone (or someone else's) more than a few times, investing in good quality repair tools might be worth it. If you don't have any tools, there are some MacGyver solutions that work perfectly fine, but I'll get into those more in future articles.
Tip #2: Look at Teardown Guides
There are some really great sites out there that feature full video and pictorial teardowns of popular phones that you should check out before attempting anything. I recommend iFixit, in most cases, since they have a good amount of teardowns on their site, and they have walkthroughs for everything from swapping out a broken display to replacing your phone's ear speaker.
Before attempting any repair, look through these guides to see if the repair is even something you're comfortable doing—then look through them over and over again until you feel confident enough to grab that spudger and start prying away. Remember, just because the pros make it look easy doesn't mean it is.
Tip #3: Test Before Reassembling
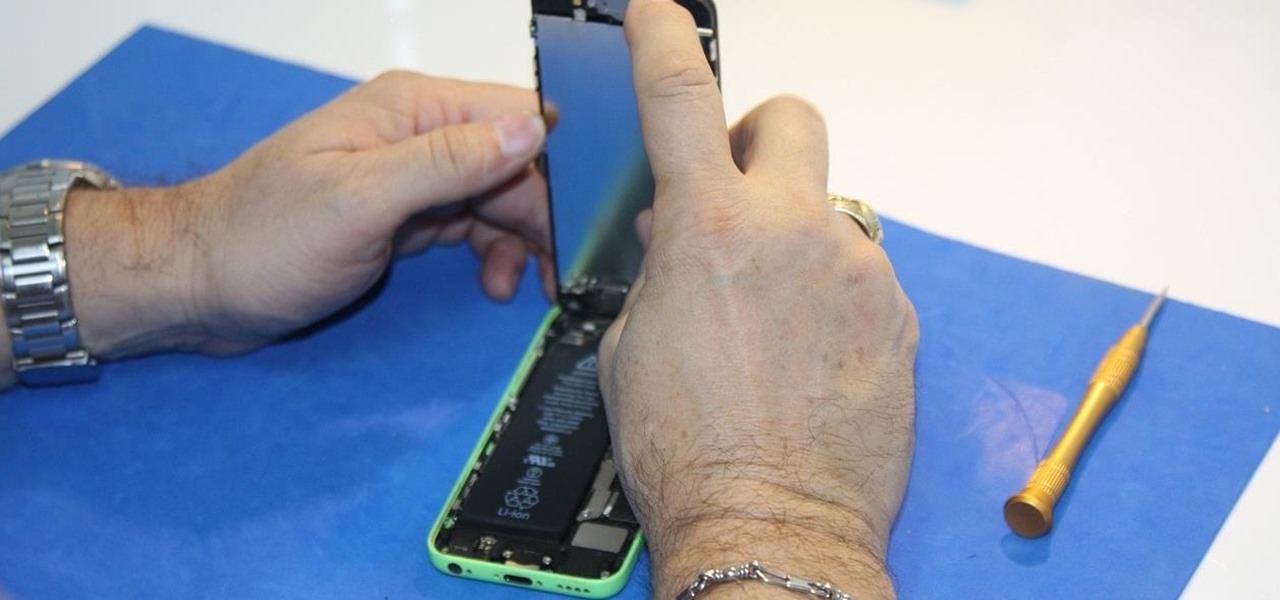
If you've decided to take on the task, remember—power down the device you're working on before starting. Once you've disassembled the phone and replace the busted part, test it if possible. You don't want to go through the hassle of carefully rebuilding your device only to find out that the part you got is defective. The Samsung Galaxy s5 is a great example of one that's easy to work with in this way. It's very easy to snap the new LCD assembly back in place and test it out before final reassembly.
Tip #4: Slow Is Smooth; Smooth Is Fast
An old Navy Seals slogan that can apply to anything if you really think about it. Bottom line is, take your time! Never rush through any repair, since you're only speeding headlong into disaster.

Tip #5: Take Breaks When Stumped
When you hit a wall and get frustrated, walk away; Never underestimate the power of taking a little break. More often than not, you'd be amazed with how smoothly your repair goes when you come back with a clear head.
Tip #6: Be Gentle
Go easy on the phone; It's not an AK-47 that can take a lot of beating. If a part doesn't fit quite right, don't force it. Take a step back and see if something's out of place such as a loose screw that's been magnetized to an ear speaker. Never over-torque a screw, it can easily damage something else or get stripped and stuck.
Tip #7: Keep Track of Everything
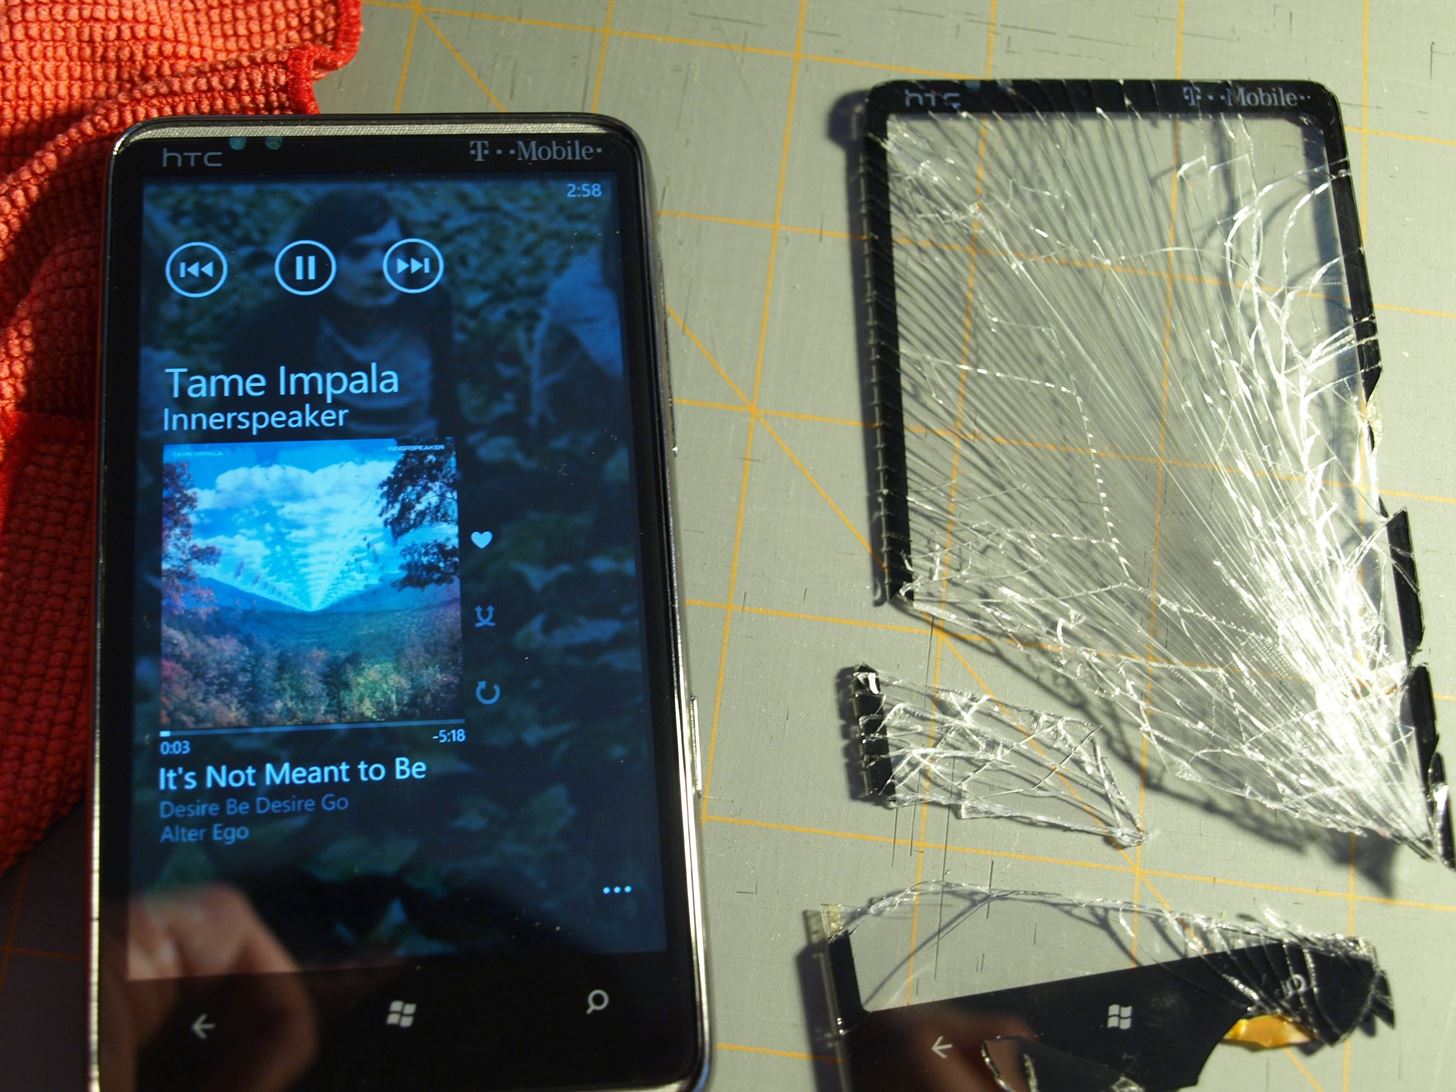
It is also very important to keep track of the screws, they need to go back in their original spots. Placing the wrong screw on the wrong spot can cause damage. A great example are the LCD/upper plate screws on an iPhone 5 series; Screwing the slightly longer screw onto the bottom corners where the shorter screws belong can cause blue screen and bootloop issues.

Tip #8: Double-Check That Everything Works
Before you close your phone up, make sure all the parts are all plugged in and/or screwed down properly. Once it's reassembled, run a quick test and make sure everything works. You want to test all the major features, not just the part you replaced, because you may have accidentally messed something up or the part may not be working well with other parts. Here's a short list:
- Touchscreen: Make sure it's fully responsive.
- LCD/display: Look for any discolorations that may indicate pressure points.
- Proximity sensor: Make a test call, and check if the screen blacks out when your face is against the phone.
- Earspeaker and mic: Make sure you and your caller can both hear clearly—and that there are no echoes.
- Loudspeaker: Play a song, turn the volume up and down, and once again—you don't want echoes.
- Front and rear camera: Take pictures, make sure they're clear and able to focus, and look for any dust particles.
- Network and Wi-Fi: Check their signals—make sure they're consistent and getting full bars.
- Volume, sleep, and home buttons: Make sure they press with a faint click, and function as they should
- Charging port: Make sure that it charges and connects via USB to other devices properly.
- Headphone jack: Make sure you can hear clearly with both earpieces.
Once you've confirmed everything works, sit back and breathe a sigh of relief. Then make sure to clean up right after, especially if you worked on a device with a shattered screen—glass splinters are never fun.
Just updated your iPhone? You'll find new emoji, enhanced security, podcast transcripts, Apple Cash virtual numbers, and other useful features. There are even new additions hidden within Safari. Find out what's new and changed on your iPhone with the iOS 17.4 update.


Be the First to Comment
Share Your Thoughts